Replacement floor

The problem was a squeaking floor.

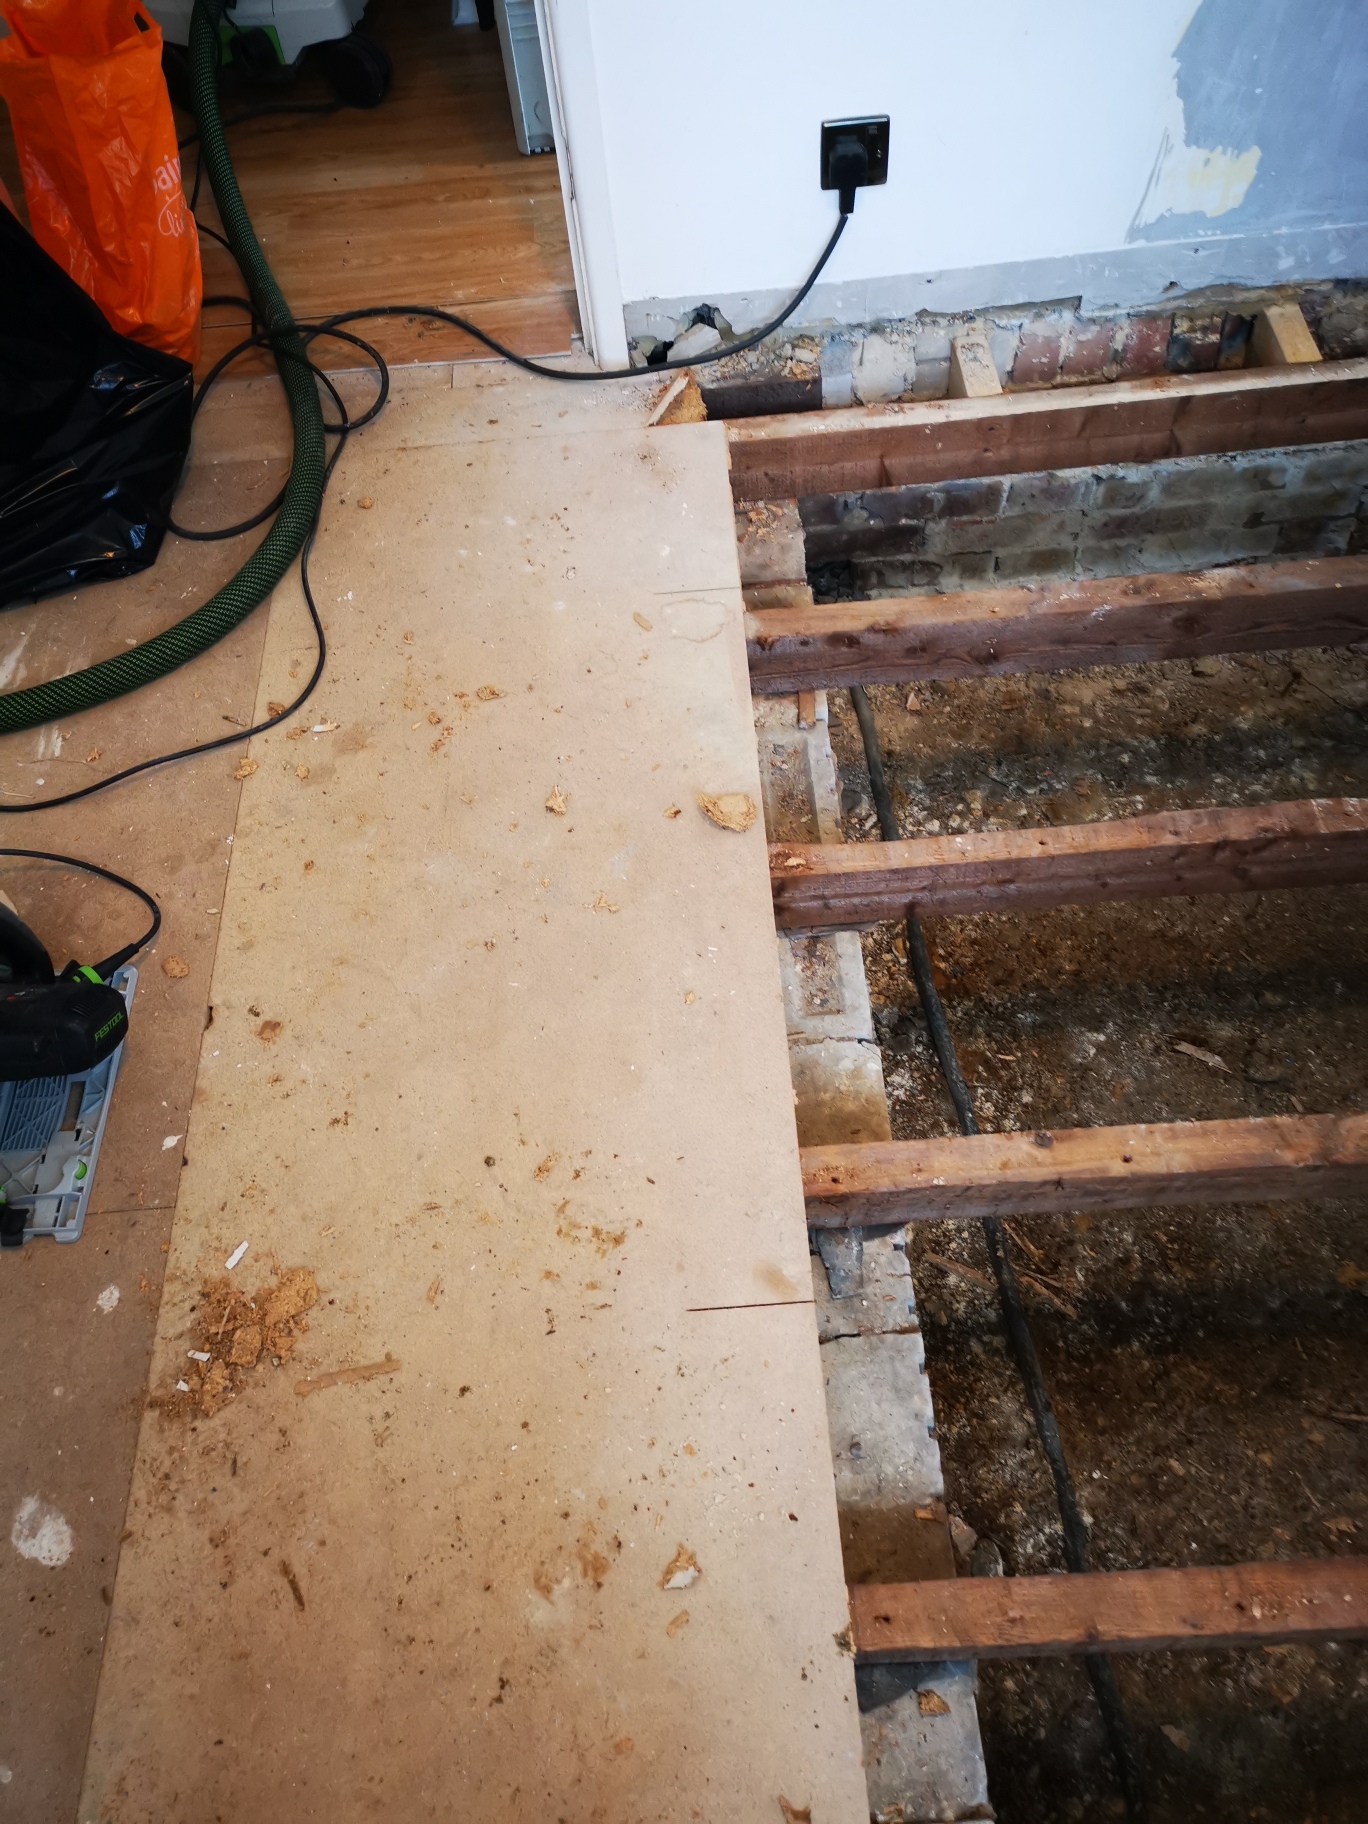
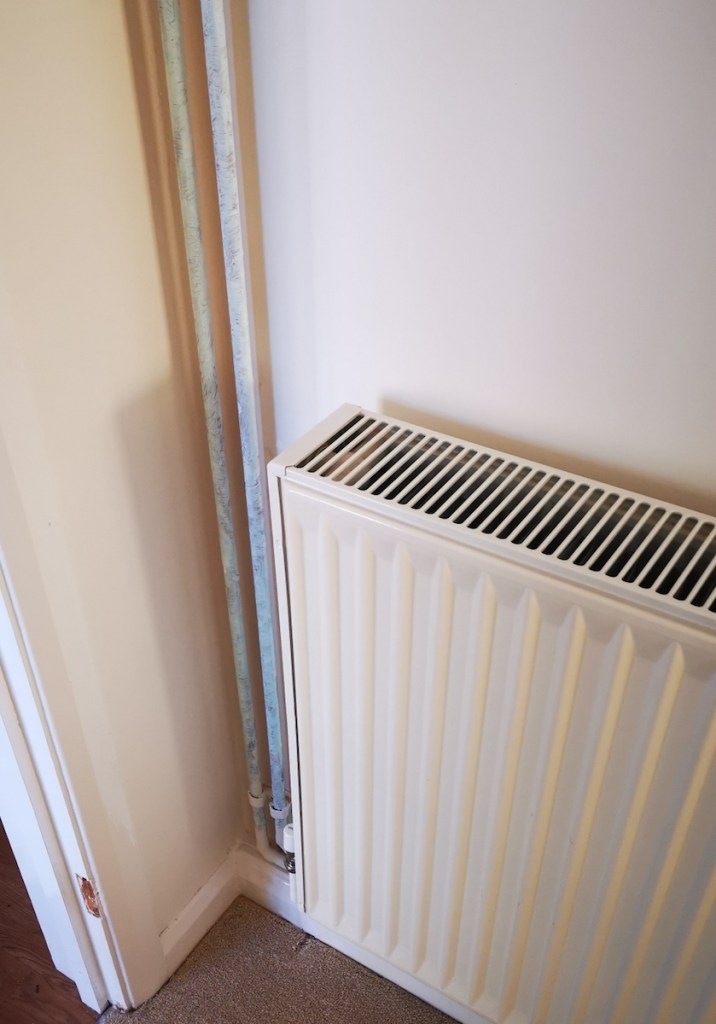
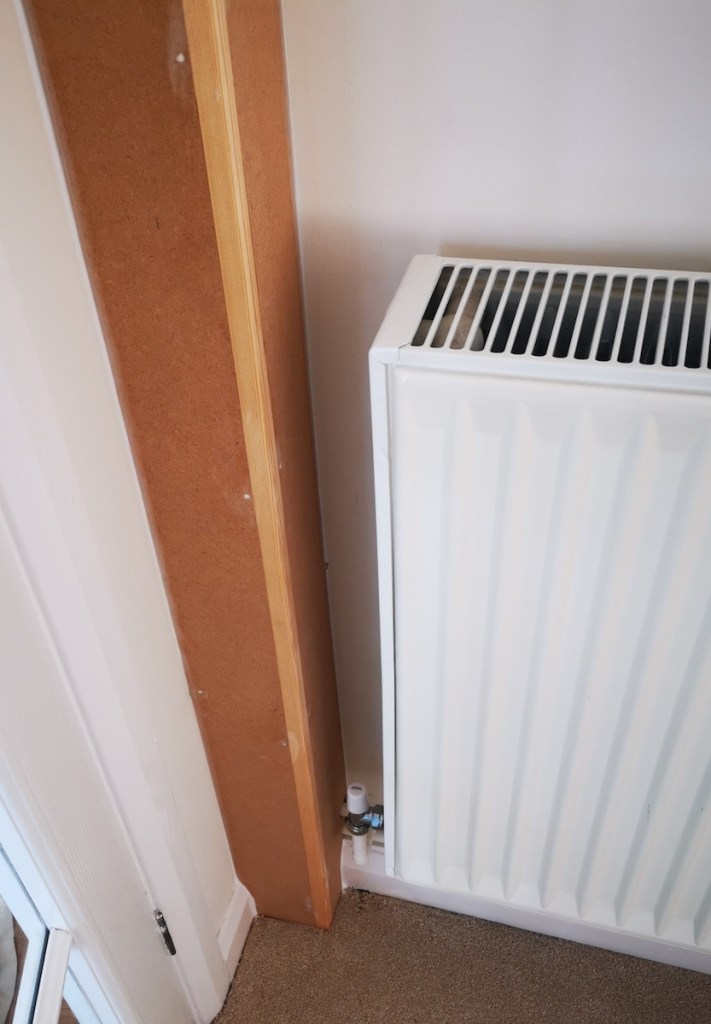
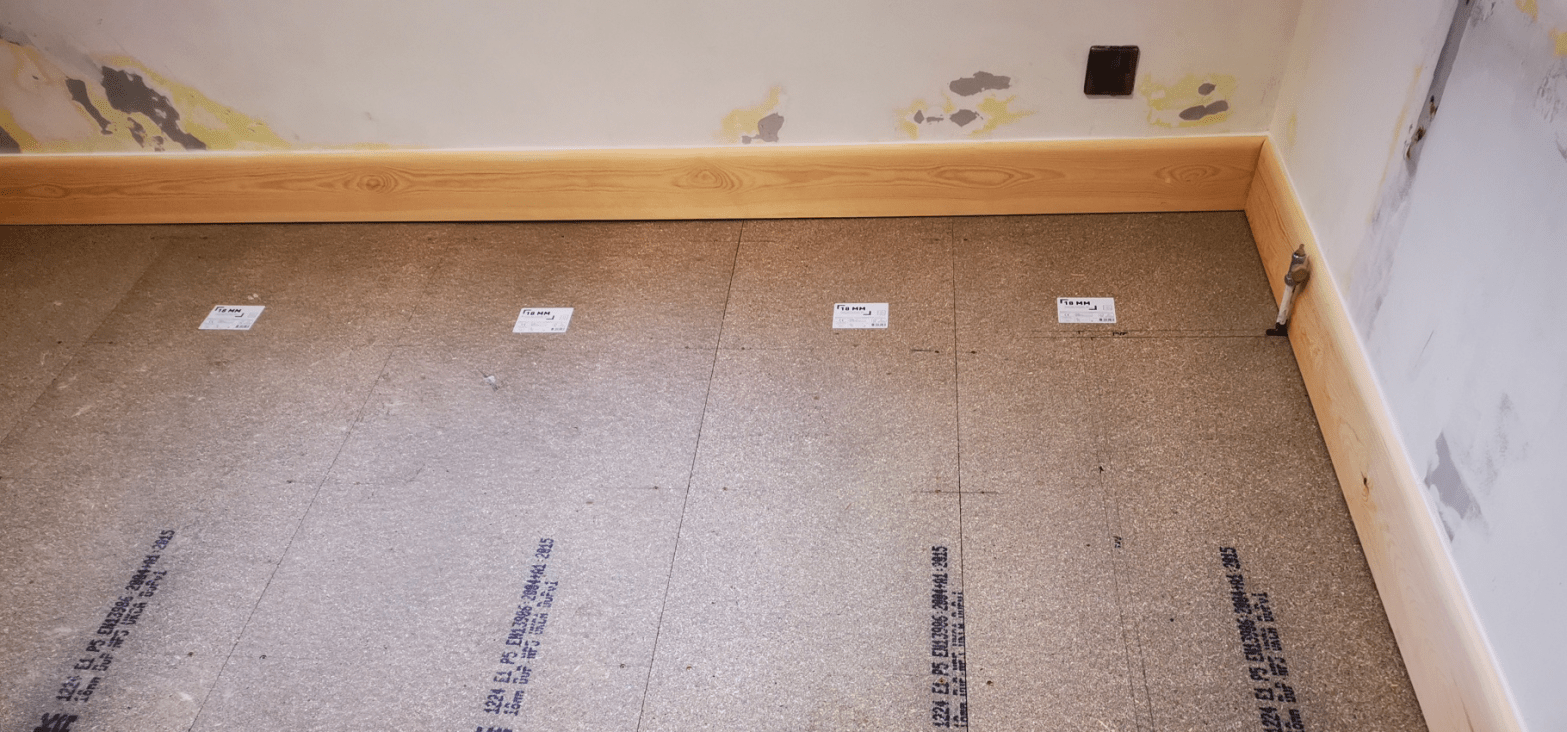
When I went to take a look at this job I noticed that there had been some leaking around the radiator pipes and some spillage in the middle of the room identified by staining. There was no schematic information either so working out where the pipe run and electrics were was an additional  headache.

It’s always a good idea to draw onto the floor where everything is underneath so that the next person who needs to do any work knows.

The easiest way forward with this was to rip the whole lot out and start again rather than second guess where to put the fastenings to stop the squeak.

 Drilling into a live wire or pipe is a heart stopping event especially if you puncture a pipe on the 1st floor and it only becomes apparent what’s happened when a drip drip drip is noticed coming through the ceiling below.

The skirting board originally was a 4″ board so using a 6″ board covered all the scuffing and the footprint of the original board. The flooring itself was 18mm graded chipboard secured by screws with a deep thread and narrow shank which enabled a good grip and resistance to thrust. It’s the resistance to thrust that makes a floor silent for all time. The original floor being nailed meant that the nails eventually lost their grip with the movement of timber and flooring through foot traffic and seasonal influences.  

A schematic diagram was then drawn onto the floor clearly outlining where the pipe and electrics lay.  

Cabinets with overhead shelves.


Made using 18mm MDF with all edging in Joinery Grade Redwood.
The customer had a collection of flat pack bookcases that they had
dotted around their home taking up valuable space including in both
alcoves but being shop bought they lost a lot of potential storage.
So these cabinets were made and fitted along with the shelves above.
Each cabinet measures around 1.7 meters in width and with a 500mm
depth and a 800mm height they provide a large storage capacity.
The total Meterage of the shelves is 13.6 Meters thats alot of books.
As all manufacturing takes place off site in my workshop minimal dust
and disruption is caused. Fitting took 1.5days.

Continuous Handrail.

An elderly customer required a continuous handrail from the top to the
bottom of a winding staircase. This was essential as they found it
difficult to let go and remain steady before grabbing the next
section. By providing this handrail the customer can now use the
upstairs rooms as they were confined essentially to the ground floor.
The mopstick handrail I painted and finished in white satin prior to
fitting. Brackets are satin chrome which match the door handles and
most other ironmongery items in the property.
The distance from the wall and the handrail was another factor to
consider as space was a premium so 63mm projection brackets were used.

Replacement Porch in Southampton

I was asked over the phone to do a repair. On my visit it soon became obvious this porch was way beyond repair.

The roofing felt had perished letting in the rain which resulted in a completely rotten ceiling and structure. I increased the pitch so that rain would actually run off and not pool. The felt although a bit on the pricey side comes with a 25 yr guarantee.

Finished in gloss white.

Pontoon replacement

This had had its day with the handrail dangerously loose and a lot of the decking rotten and unstable.

The first thing to do was to remove the whole superstructure leaving just the piles in place. These were still sound showing little or no rot. A testament to Greenheart which is one of the most robust timbers available.

Next, leveling by strings this is not only to find the level for laying a deck but also the width so that the timber laid will be of equal width and true to the eye.

The bearers and sides called strings are now fastened to the piles in preparation for the deck and handrails.

All fastenings used are stainless steel. Normal green decking screws and bolts would soon start to rust in this marine environment.

Newel posts and handrails are fixed to the strings. These I machined off site from 100x100mm stock.

And finally the decking. Non slip decking was laid and fastened. All timber used throughout being double vac tanalised so treated twice this extends the lifetime of the timber which should exceed 25yrs. As time passes the wood will melow in colour and end up being a dark honey colour.

Scarfing in

Here you can see the process of scarfing in. The corner post of a
french 3 door bifold set that divides the living room and the outside.
This would not be cheap to replace. The customer was quoted £7000 for
the replacement of the frame and doors by a builder / installer. I did
it for less than £500


Image 1. Shows the rot and my markings of what needs to be cut out.
Image 2. The cutting out of marked lines.
Image 3. The removed piece.
Image 4. A template is made to fit exactly into the cut out. This is
then transferred onto the timber that will be used. The scarf piece.
Image 5. The scarf. Glued and screwed with stainless steel screws and
timber plugged.
Image 6. The Finished piece with primer and undercoat.

Boxing in pipework

Not the most glamorous of projects but an essential one particularly when the pipes run down the corner of a living room. Rather than butt two pieces of MDF together which look amateurish and unsightly I carry a stock of edging pieces that I machined out.

It also means that when the customer paints the box there is no rough edge.

The edge of MDF acts like a sponge so you never quite get that perfect paint finish.The edging piece covers that.I was undecided about wrapping the coving around the box so instead left the box as is.Once it is painted it will blend in.   

Storage/Display drawers


Oak comes in an infinite range of shades and grain structures. I  explained this to the customer who replied ‘The more contrast in the wood the better’.  This set of storage/display drawers are made with solid Oak drawers, top and legs.And a combination of solid and OAK veneered MDF used for the main carcass.A particularly delicate piece comprising 9 drawers 380mm x 220  with an internal depth of 26mm for the shallow drawers and 70mm for the larger ones. The intention is to keep a large collection of crystals and rocks in the drawers with several books on the subject on the bottom shelf. Personally I think a lovely pot plant would be nice to sit on the top.I finished the piece with a finishing oil and the customer has employed a french polisher who will do their magic to bring out the grains and colours.

Furniture panels with AirTec Edging – Custom built Furniture and storage Cupboards


The industry standard is to use cams and locking pins to assemble furniture boards together. We have all seen them and probably used them when we buy flat pack furniture to assemble at home. They work and have the added convenience that with care you can dismantle and reassemble the furniture if you move house for example.However cams are not great if you wish to achieve a piece which has the characteristics of a traditional ‘solid’ piece of furniture. 

With this in mind I use a method of construction that entails a trench to be machined into the meeting panels and introduce an Oak batten, I choose Oak because of its sheer  strength thus avoiding splitting should the piece come under stress. The trench is normally 6.3mm wide and 15mm deep on each panel enabling a 6.3mm x 30mm batten to be glued into place. The images below show the construction of two cupboards that are to be used in an office come handicraft workshop environment. They do not have to be white I can source over 1000 colours with various finishes that can have AirTec Edging. 

AirTec Edging enables a seamless hardwearing edge to panels and the appearance of a quality piece of furniture. Something that cannot be achieved with the iron on alternatives often employed.The great thing about these furniture boards is that matching existing colour schemes can be achieved which means adding an extra cupboard or an infill does not become an obstacle to enlarging or redesigning an existing installation.